
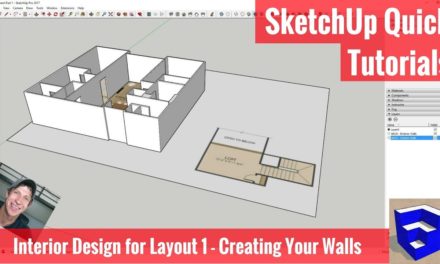
CREATING A TITLE BLOCK for your Plans in Layout
In this video, learn the basics for creating a title block in Layout! Learn to save your title block so that it shows up on every page, as well as learning how to save it as a template for use in your SketchUp to Layout projects in the future!
Do you like these SketchUp tutorials and videos?
If so, please consider supporting me on Patreon (click here to support) or by visiting my Support the Show Page!
More Layout Resources
http://www.thesketchupessentials.com/layout
Want more SketchUp instruction? Check out
The SketchUp Essentials Course
http://www.thesketchupessentials.com/course
The Layout is fairly simple – you just add your different text boxes, then you draw in dividers between them – the trick is using AutoText and Layers to get your title block to show up on every page.
Roughing Out Your Title Block
Let’s start by just drawing a very rough title block – line on the right, box at the lower right hand corner, then we’ll start adding some text.
Introduction to AutoText
Before we do that, I need to introduce you to the concept of AutoText. AutoText is text that Layout will automatically fill in for you based on information that is set in your model – it’s almost like the text version of a component from SketchUp. You can see what AutoText information is available by going up to “File,” “Document Setup,” “Auto-Text.” These are the Items that are already in as AutoText, and you can adjust their values within this area. For example, let’s add our Address to our title bar. To start, add a text box with the value
Adding a Logo
Now, let’s add a logo in the upper right hand corner – just go to “File,” “Insert,” and find your logo image.
Adding Page Numbers, Drawing Your Sections, and Adding Other Information
In this case, we’re going to use the AutoText for
Adding the Block to All Pages
Now, let’s talk about getting this to show up on all your pages (or at least most of your pages). First, you’re going to want to select all of this. You can group it or not – I’d probably group it. Then, you need to add a layer for Title Block, and put all this geometry on that layer. You can check it by toggling it on or off. You should be able to drag it down near the bottom. Then, assuming you want this to show up on every page, you need to click the option for Share Layer Across Pages. This will result on this layer showing up in the same location across every page. You may want to click the lock button to keep from accidentally editing your title block. However, sometimes you have pages you don’t want this to show up on – simply turn the layer off on those pages!
Adjusting Your Page Numbering
Now, let’s adjust our page numbering so numbering doesn’t start until after the first page. Simply go up to your Document Setup again and use the drop down to select the page you’d like your numbering to begin on.
Saving as a Template
Finally, you can save this block as a template so you can use it in future projects by simply going up to “File,” “Save as Template,” and saving it under your “My Templates” folder.
About Justin Geis
Hi, I'm Justin Geis, and I'm the founder of The SketchUp Essentials. I started using SketchUp as part of my work as a general contractor in 2008. I quickly realized the power of the software and started using it for personal projects. I started The SketchUp Essentials as a place to share easy to follow SketchUp tutorials and tips to help everyone harness the power of 3D Modeling in their lives. When not working with SketchUp, I enjoy playing soccer and spending time with my wife and our two dogs.
