
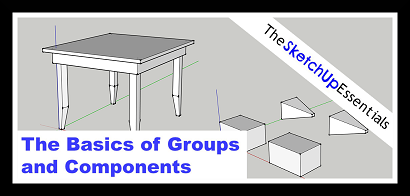
The Basics of Creating Groups and Components in SketchUp
Groups
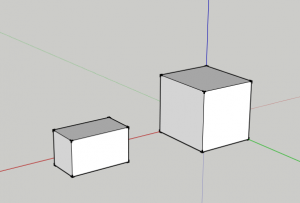
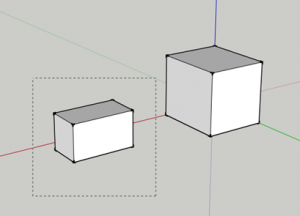
While SketchUp is one of the easiest 3D modeling softwares to learn and use, sometimes smart modeling strategies can make your life a lot easier when working in 3D. For example, one of the things that SketchUp does by default is making geometry sticky. This basically means that when lines and faces intersect, they stick together. Here’s an example. Let’s say I have two boxes on the screen, like the ones shown below.
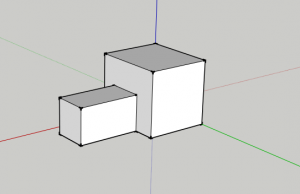
If I move them together, so that their faces are touching, their faces stick together. This means that the end face of the small box merges into the face of the larger box.
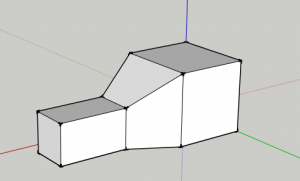
This is problematic because if you go into the model and try to pull the boxes back apart again, since the faces are merged, the smaller box pulls the face of the larger box with it, as shown in the image below.
This kind of sticky geometry can sometimes be useful, but as you start working with more complex models, it can cause you all sorts of problems. However, there is a very simple solution that can help you avoid this issue. This solution is the “Make Group” tool. Groups in SketchUp are exactly what they sound like. They are a number of different geometry items grouped together to make a single item. The time saving thing about groups is that groups do not stick together. This means that when organized properly, you’ll never have to worry about going back into your model and trying to edit items, only to find that faces are stuck together and you have to delete faces and re-model them.
To create a group, click and drag a box around a group of items to select them, as shown below.
All of your selected items will turn blue.
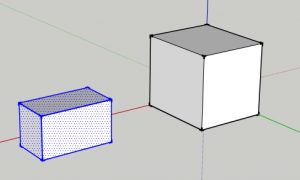
Right click and select the option labeled “Make Group”.

Select the larger box and do the same thing. You should now find that when you click on the boxes, instead of individual lines or faces selecting, all the lines on the box will turn blue. This shows that you have a group selected, instead of just single objects.

Now, if you move the boxes together, then back apart again, the faces no longer stick together, because SketchUp does not make different groups stick to each other. If you ever want to edit the items inside your group, double click on an item in the group. Your screen will then look like the image below.
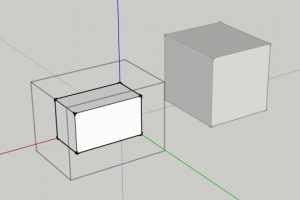
If you’ll notice, everything outside the dotted lines is faded and greyed out. This indicates that you are editing inside a group, and everything that isn’t faded out is included in the group. To get back out of the group, simply double click outside the group.
It is possible in SketchUp to have groups inside of groups (called subgroups). When you’re inside a group, simply select the items that you’d like to add to your subgroup, right click and select the “Make Group” option.
Groups help you keep your model organized. A good rule of thumb is that any time you have a bunch of objects you even remotely think that you might need to change later, put them in a group or a component (see below). Otherwise, you risk creating a model with so many faces stuck together that you’ll never be able to edit them in the future.
Components
Components in SketchUp are similar to groups, but they are much more powerful. In SketchUp, a group is a bunch of objects combined into a single object. However, if you make a copy of a group, that copy will be different than the original group in your model. Every copy of a group is an independent object that is completely unlinked to the others.
On the other hand, a component is an object that can be be re-used in your model. This means that if you make multiple copies of a component, then change one of the copies, every copy of the component in the model will change as well.
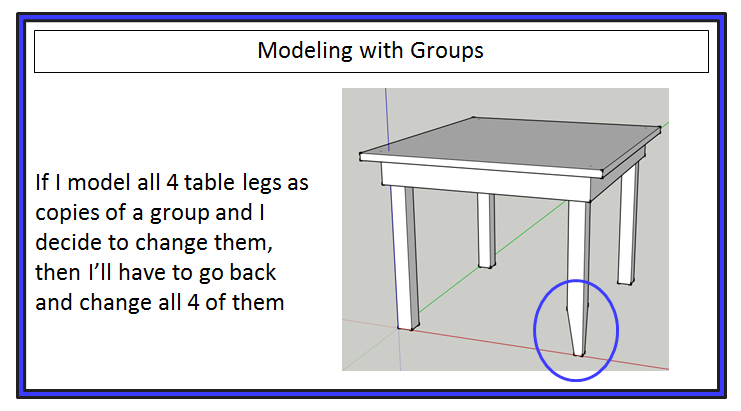
Here’s an example. Let’s say you were drawing a simple table in SketchUp, like the one shown below.
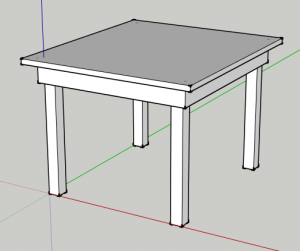
Nothing special about it, right? It has four simple legs and a simple top. What if I decide to jazz it up a little bit and add some shape to the legs? If I model the legs as groups, I’ll have to go back and change all 4 legs to the new design I want.
However, if I modeled these legs as components, all I have to do is change one of the legs and all the other copies of the legs will change as well. I can literally cut out ¾ of my modeling time by using components.

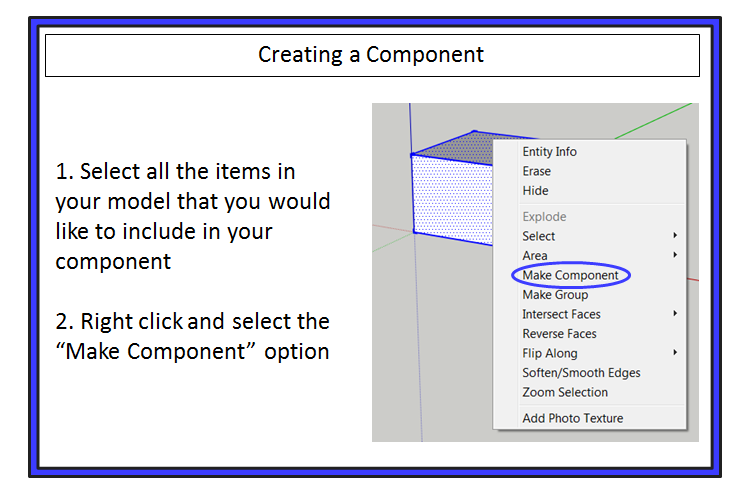
Creating components in SketchUp is very similar to creating groups. Simply select the objects you would like to make up your component, right click, and select the “Create Component” option.
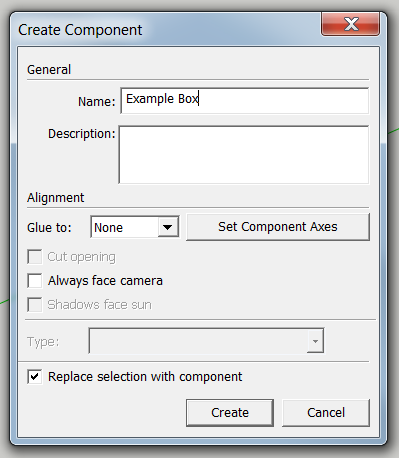
A box will pop up allowing you to enter some information for your component. There are some useful items in here, but for the purpose of this tutorial, all you need to enter right now is the component name and click the “Create” button.
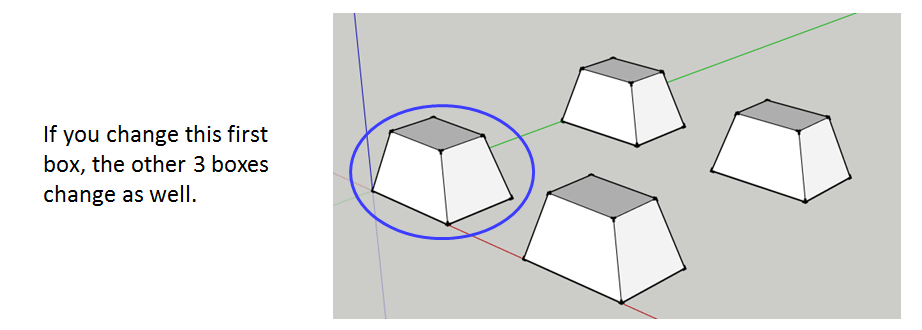
This will create a component that includes all the objects you currently have selected. Let’s go ahead and create 4 copies of this box. When you’re done, your screen should look like the image below.

If you go in and edit your original box, as you can see, the other boxes change as well.
Sometimes, however, you want to have some instances of a component that are different than the original. SketchUp has a cool feature where you can make some instances of a component unique from other instances. This is called “Make Unique.” Select the two boxes on the right hand side of the screen. Then, right click and select the “Make Unique” option.
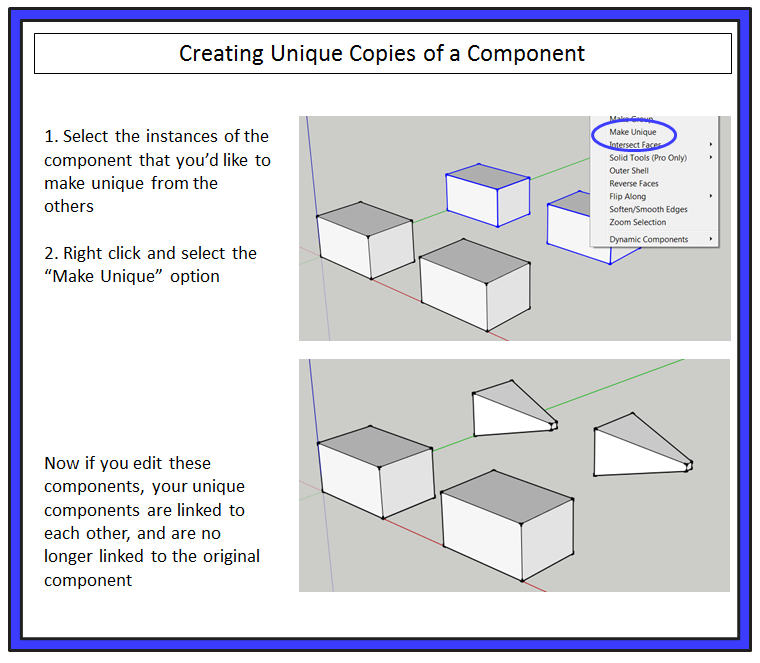
Now these components are linked to each other. They are also no longer linked to the original component, so they will not change when you edit the original component.
Groups or Components?
A lot of people get confused about the difference between groups and components and when they should use each one of them. It’s actually a very simple differentiation. Groups are used for sets of objects that you will never duplicate or make copies of. Components are used for sets of objects that you will be duplicating or using multiple times in the model.
From a usage standpoint, it’s safest to just create everything as a component. They don’t take up any additional resources, and in case you do find yourself having to make copies of your object later, you will maintain the component functionality.
Bottom Line: Any time you need to combine multiple items into a single object in SketchUp, combine them in a component, not a group.
_________________________________________________________________________________________________________________
About Justin Geis
Hi, I'm Justin Geis, and I'm the founder of The SketchUp Essentials. I started using SketchUp as part of my work as a general contractor in 2008. I quickly realized the power of the software and started using it for personal projects. I started The SketchUp Essentials as a place to share easy to follow SketchUp tutorials and tips to help everyone harness the power of 3D Modeling in their lives. When not working with SketchUp, I enjoy playing soccer and spending time with my wife and our two dogs.

