
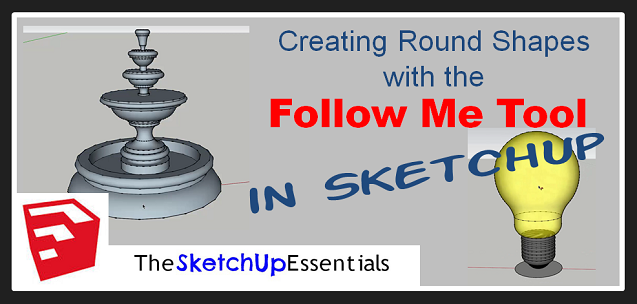
One of the most useful (and least understood) tools in SketchUp is the follow me tool. This tool can be very useful in helping you save time and effort in SketchUp. This tutorial will teach you how to use the follow me tool to create round shapes.
In this tutorial, I show you how to create circular shapes like wine glasses, fountains, light bulbs, etc. I focus on various things, from creating a shape from a thin profile, to planning for your shape ahead of time, to managing the number of faces in your model to keep your poly count down and make everything run faster.
1:03 – Extruding a thin profile in a circle to create a shape
5:14 – Planning your extrusions to save time and effort
6:00 – Breaking your shapes into separate faces before extruding
6:11 – Coloring before extruding
6:44 – Grouping different extrusions for easy management
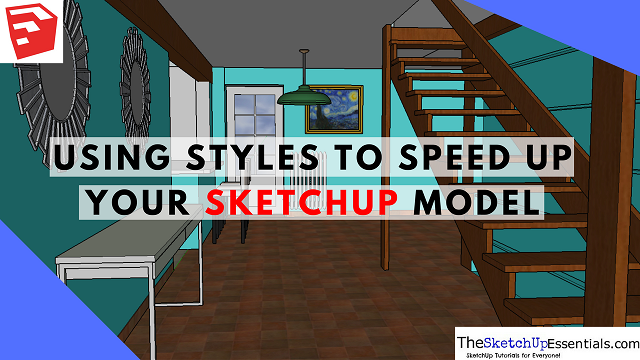
7:39 – Managing number of faces to speed up your SketchUp Model
8:06 – Managing the segments in your circle
9:15 – 19,559 Entities in your model?!?!
10:34 – Extrude along a circle with less segments for less faces
11:45 – Lower poly vs Higher poly comparison
About Justin Geis
Hi, I'm Justin Geis, and I'm the founder of The SketchUp Essentials. I started using SketchUp as part of my work as a general contractor in 2008. I quickly realized the power of the software and started using it for personal projects. I started The SketchUp Essentials as a place to share easy to follow SketchUp tutorials and tips to help everyone harness the power of 3D Modeling in their lives. When not working with SketchUp, I enjoy playing soccer and spending time with my wife and our two dogs.

Great tutorial. I’m a new Sketchup “Make” user and would like to see a tutorial on how to create an octagonal dome (The side view of the roof is a dome that follows the shape of the octagonal building, in the plan view).
I watched the video on Creating Round Shapes with FOLLOW ME TOOL. I’ve created shaped before using the FOLLOW ME TOOL. But, this puts a new “spin” on using this. This way of doing it IS much easier. Much appreciation Justin Geis.