
One of the most powerful functionalities in SketchUp is the ability to use components to create repeating shapes. In this tutorial, I’m going to teach you how to use components to quickly and easily create a staircase.
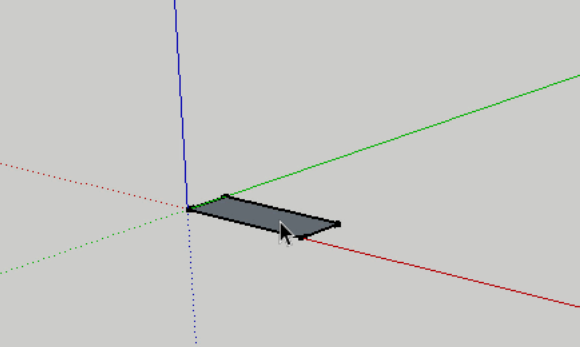
The first thing we’re going to do is draw a stair tread. Make this whatever size you’d like your stairs to be. In this case, I’ve created my step to be 3’ W x 1’ Deep. You can create this either using the rectangle tool, or using the line tool to draw a rectangle.
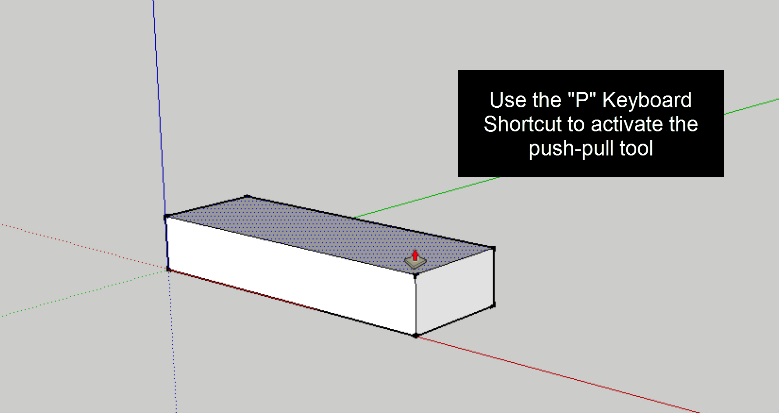
Once you’ve drawn your tread, use the push pull tool to extrude your step to the height you would like the rise to be between your steps. In this case, I’ve set the vertical height between steps to be 6”.
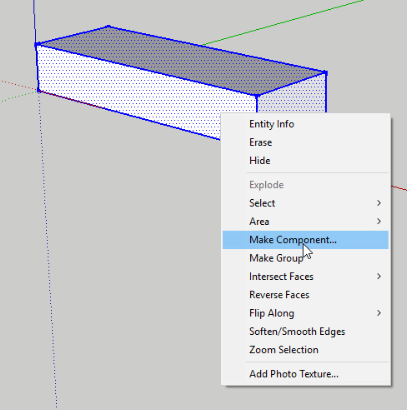
Now, we’re going to create our stair tread component. To do this, select your stair tread item by clicking and dragging a box around it. Once you’ve selected your entire tread, right click on it and select the item marked “Make Component.”
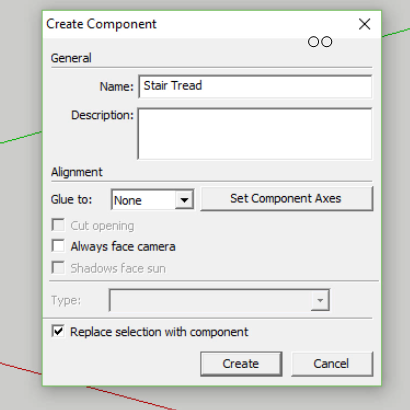
A little box should pop up allowing you to label your component. You can call it whatever you want. I labeled mine “Stair Tread.” Click the create button to create your component.
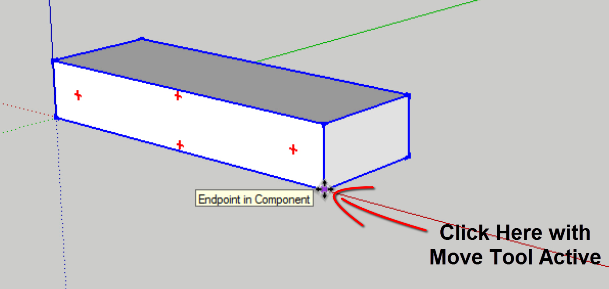
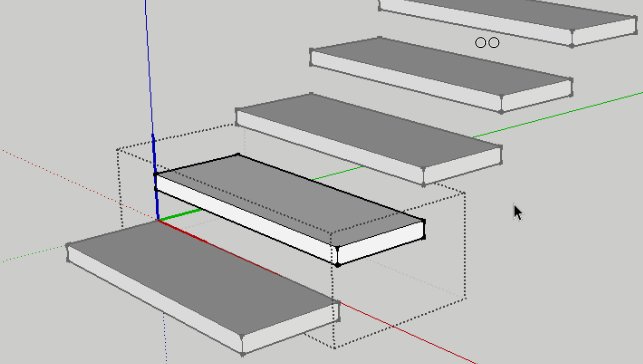
Now that you’ve created your component, we’re going to repeat it. To do this, click once on your component, then activate the move tool using the “M” key. With the move tool active, click once on the corner of your box.
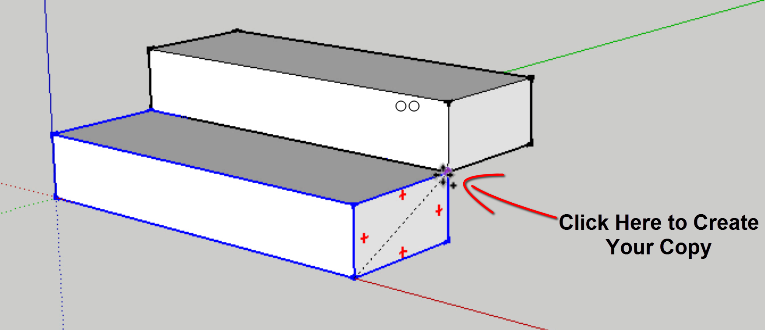
Now, we’re going to copy your stair tread. Tap the “control” key on your keyboard to activate copy mode. This will allow you to create a copy of whatever shape you have selected. Click on the opposite corner of the stair you’ve selected. This will create your copy.
Now, there’s once more step. Without clicking on anything else, type “x” and the number of copies you’d like to create. This will be the number of steps you’d like to have. In this case, I’ve typed “x 12” so that I have 12 steps + my original, so 13 total.

You should now have 13 steps. Now, we’re going to use the power of components to make the steps look the way we want. In my case, I don’t want my actual steps to be 6” high, so I’m going to go in and edit them. The nice thing about this is since all of our treads are copies of the “Stair tread” component, all we have to do is edit one of them, and they all will change.
Rotate your view so you can see the underside of your stairs. Then, double click on one of your stair treads to edit it. You’ll know you have it open and ready to edit because there will be a little dotted box around the component you have selected, indicating that you’re in component editing mode. Notice that any change you make to your selected component will also affect all the other copies of this component.
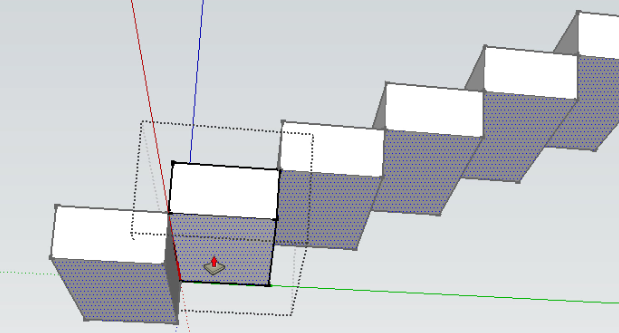
Now, I’m going to use the push pull tool to edit my stairs. I decided I’d like a little gap between each of my steps, so I pushed the bottom face of the steps up 3” and hit the enter key.
As you can see, the changes you make to one tread are reflected in all the stair treads because they’re all copies of the same component.
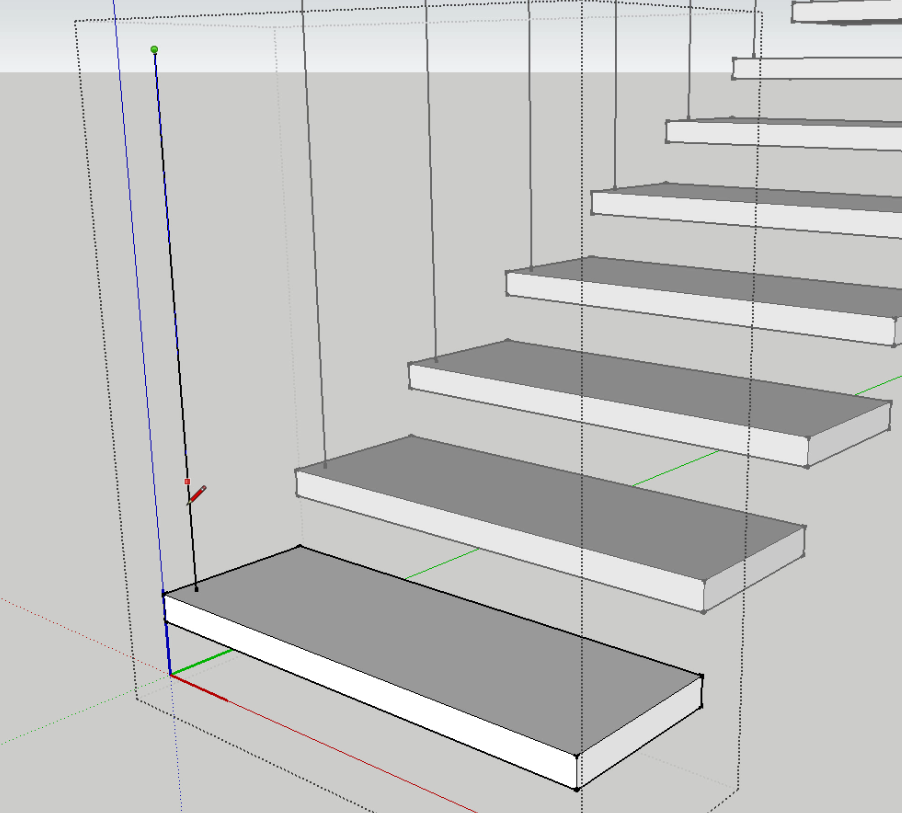
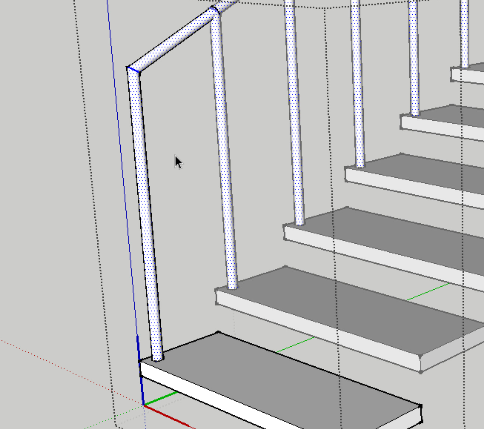
Next, we’re going to create our handrails. Start by drawing a guideline for where you’d like your rail to go. To do this, click and draw a line starting from the top of each step up to the height you would like your handrail to be. In this case, I’ve drawn the vertical part of my handrail to be 3’0”H. Make sure that you’re drawing this line inside your component so that it’s reflected in every step.
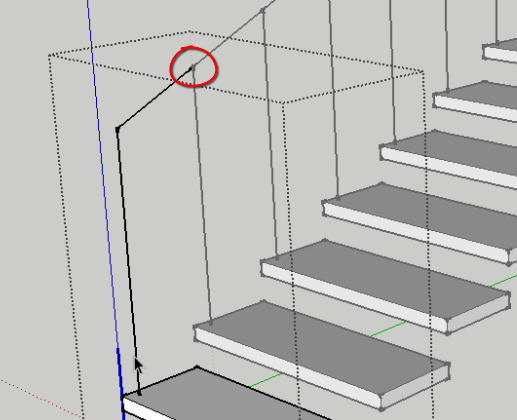
Now, draw a line from the tip of the line you just drew up to the tip of the line in your next tread. This will create a continuous path for our handrail to follow.
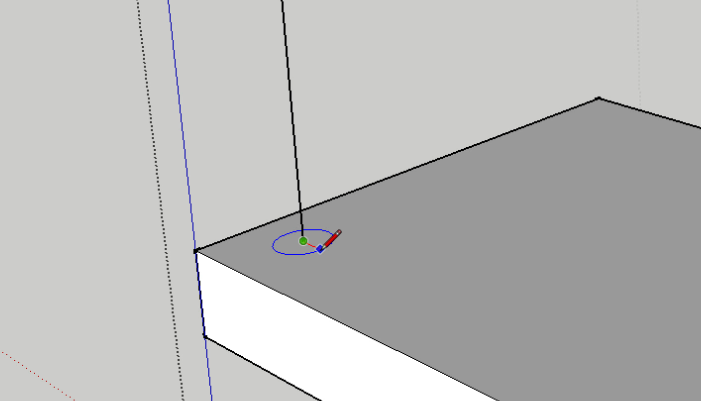
Now that we’ve drawn our handrail’s path, we’re going to use the follow me tool to create the rail itself. Start by drawing a circle at the base of your handrail path the size that you’d like your handrail to be.
Then, select the lines that you drew as the path for your handrail.

With the lines selected, activate the follow me tool and click on the circle you drew for your handrail profile. This will extrude your handrail profile along the path you drew.
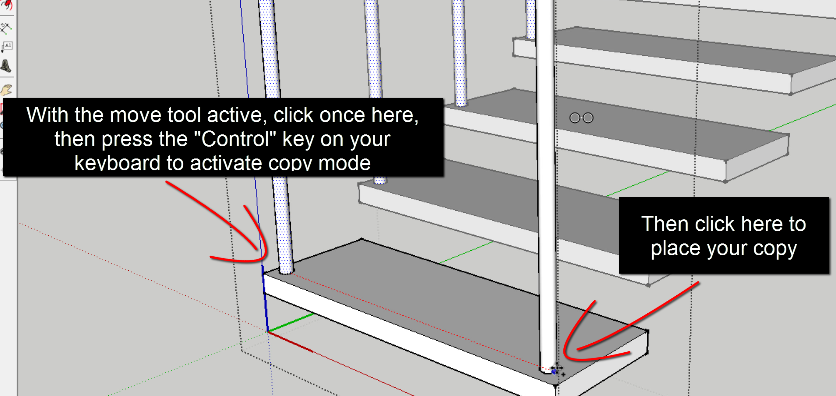
The last thing we need to do is copy our handrail to the other side of our stair so that it’s on both sides of your steps. To do this, select your rail by dragging your mouse from right to left across it. (Right to left select boxes select everything they touch without you having to draw the box around the entirety of the shape) Now, activate the move tool and click once on the base of your handrail. Press the control key to activate copy mode, then move your mouse to the point where you’d like your rail to be, then click your mouse once to place your copy.
Once you’ve done this, you should have a complete stair with handrails on each side.
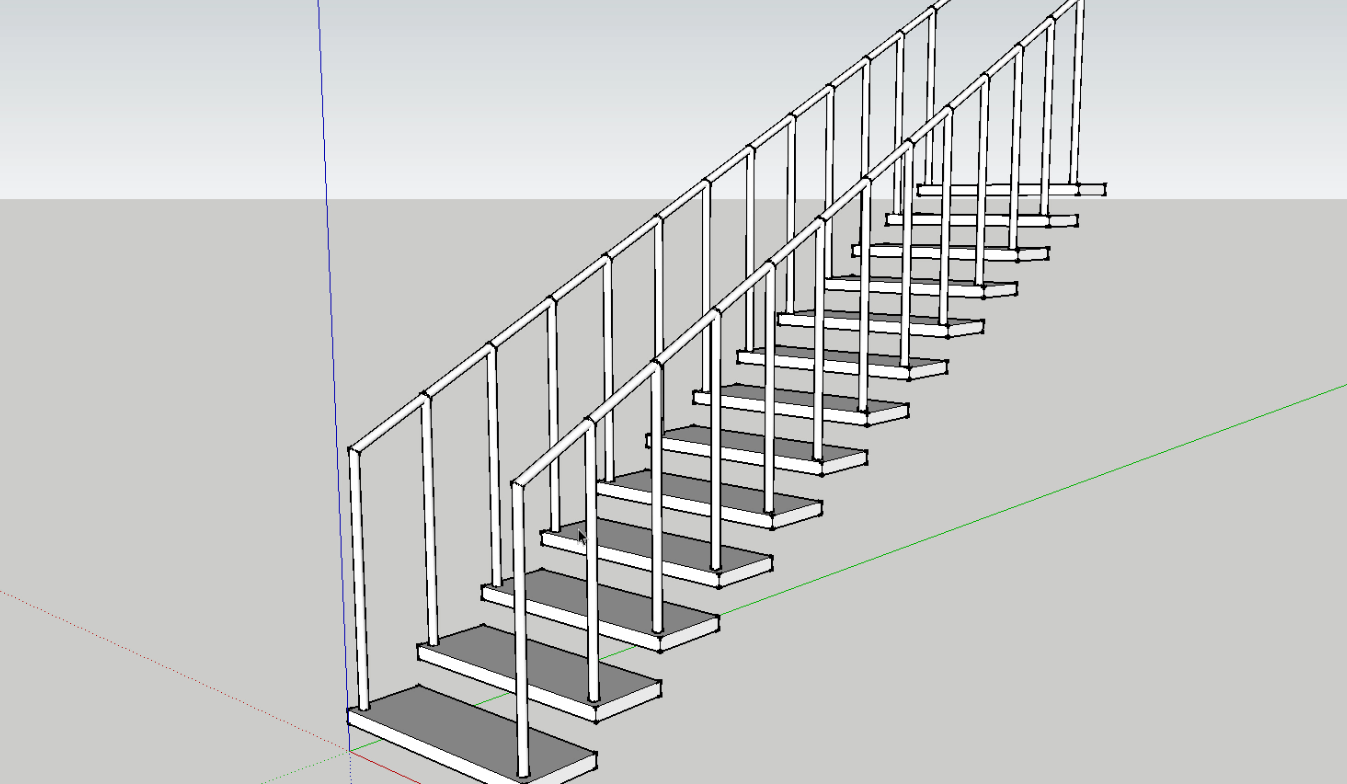
As you can see, this is a quick and easy way to create a stairway with components. The nice thing about the way you’ve modeled this stair is if you’d like to make a change, all you have to do is edit one component and all the other components will change with it.
Did you like this tutorial? Do you have any questions? Let me know in the comments below!
About Justin Geis
Hi, I'm Justin Geis, and I'm the founder of The SketchUp Essentials. I started using SketchUp as part of my work as a general contractor in 2008. I quickly realized the power of the software and started using it for personal projects. I started The SketchUp Essentials as a place to share easy to follow SketchUp tutorials and tips to help everyone harness the power of 3D Modeling in their lives. When not working with SketchUp, I enjoy playing soccer and spending time with my wife and our two dogs.

