
Printing Your SketchUp Models, Creating Elevations, and More – The SketchUp Essentials #56
Do you like these SketchUp tutorials and videos?
If so, please consider supporting me on Patreon (click here to support)!
In this SketchUp for woodworking tutorial video, we’re going to talk about 3 things – creating elevation views, dimensioning your model, and printing your model views in SketchUp make.
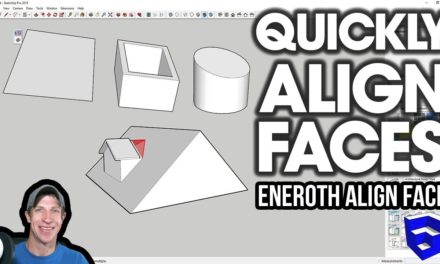
Creating Elevation Views in SketchUp
The first thing I want to talk about is creating elevation views. A lot of the time, when you print or export your model, you’re going to want to create a straight up and down elevation view.
In order to create this, you can click on one of the ready made views in the views toolbar, like front elevation. However, you can see that this isn’t truly an elevation view because we’re in perspective mode.
What you want to do is go up to the camera menu and select parallel projection. This will turn off perspective view so you have true elevations.
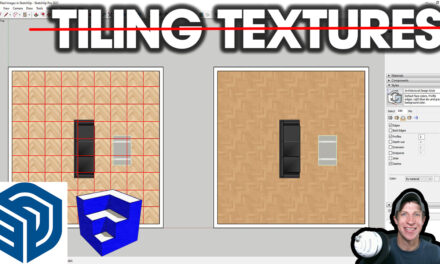
Working with Dimensions in SketchUp
The second thing I want to talk about just a bit is your dimensions. Dimensions are things you can add to your model to show exactly what size something is. They’re fairly simple to use – just activate the dimension tool, click on the two points you want to dimension between, and then click again to set your dimensions.
You can adjust things like your font, style, alignment, and other options in the entity info for the dimension.
I would recommend putting your dimensions on a layer. Because they aren’t technically geometry, they don’t show up in the outliner. If you put them all on a layer, you can turn them on and off really easily.
Printing your SketchUp Models
The last thing I want to talk about is printing. A lot of the time, you’re going to want to print your model. There are a couple different options (this is in the free make version) for how you can do this. First of all, you’re almost always going to want to print from the print preview pane so you can see what your printout will look like.
To do this, go up to file, print preview. This will give you a preview of what your printout will look like. There are a couple different options you’re going to want to look at here. The first is fitting to page. This is useful if you want to just print something off so you have a copy of it. Simply check the box, and SketchUp will fit your printout to the page.
Printing a SketchUp Model to Scale
The other, and this is something woodworkers have requested from me before, is printing it to scale. Oftentimes, people want to print full scale images to use on a board or other thing they’re working with. First of all, to do this, you’re going to have to turn perspective off and be in parallel projection mode. Once you do this, the option of “Scale” should be un-grayed out. Then, you can set your scale to 1:1 to print to scale. You can see how there’s a “tiled sheet print range” section. This is because SketchUp is going to tile your image onto multiple sheets.
If you hit ok, you get a preview of what SketchUp is going to print. Make sure you get nice and zoomed in on your object before you hit print preview to minimize the amount of dead space/extra pages that are to be printed. Try using the zoom extents tool to do this.
Also, if you’re having trouble getting your model to line up, you might try drawing a grid with the sandbox tools behind your object. This will give you some guide lines that you can line up when you’re piecing your images together.
About Justin Geis
Hi, I'm Justin Geis, and I'm the founder of The SketchUp Essentials. I started using SketchUp as part of my work as a general contractor in 2008. I quickly realized the power of the software and started using it for personal projects. I started The SketchUp Essentials as a place to share easy to follow SketchUp tutorials and tips to help everyone harness the power of 3D Modeling in their lives. When not working with SketchUp, I enjoy playing soccer and spending time with my wife and our two dogs.
