
Downloading FREE TEXTURES from Poliigon and using them in your SketchUp/Vray Renderings
In this video, learn how to download and use free high quality textures and maps from Poliigon in SketchUp and Vray. This tutorial includes importing normal maps, reflection maps and more to create realistic high quality renders!
Do you like these SketchUp tutorials and videos?
If so, please consider supporting me on Patreon (click here to support) or by visiting my Support the Show Page!
POLIIGON LINK
http://www.thesketchupessentials.com/poliigon
THE SKETCHUP ESSENTIALS COURSE
http://www.thesketchupessentials.com/course
So in today’s video, we’re going to check out an online resource that contains textures that you can use in your 3D models and renderings.
As you know, there are a lot of different websites that you can use to download textures for use both in your SketchUp models, as well as for use in programs like Vray, Unreal Engine, and more. I’m always looking for useful resources that can make the rendering process faster and better.
In today’s video, I want to talk about downloading and importing materials from Poliigon.com into your SketchUp models, as well as some tips for setting the materials up within Vray in order to really create more realistic renderings.
To start off, you’re going to want to visit www.poliigon.com and go up and click the Sign Up button – there is no charge to sign up on this website. They do have premium textures that you can purchase access to, but they also have some really great free textures that you can download.
Next, you’re going to want to go up to the textures tab and go down and click on “Free textures.” That’s going to give you a list of all the free textures available through Poliigon. Now let’s go ahead and pick one of these materials and take a look at it.
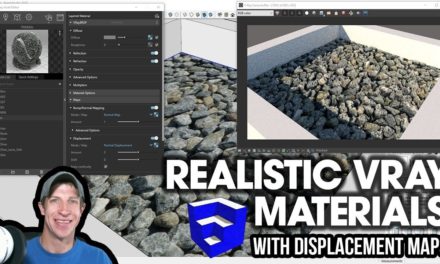
In this case, let’s go ahead and select the option for Plaster 17. What happens now is that you’ll get a preview window showing the material and what it looks like when it’s rendered, as well as a list of the different maps that you can download, like normal maps, reflections, etc.
They have a pretty decent set of free textures, and one of the nice things about them is that they include the different maps that you need to link up things like normal maps to roughen your surface, reflection maps to make your rendered reflections look better, and more.
You can select very high resolutions, but just be aware that while higher resolutions will look more realistic, SketchUp will also struggle with them.
Once you download this file, you’ll want to unzip it and place the materials wherever you keep your materials.
Once you’ve done this, you’re going to bring it into Vray by opening up the Asset Editor, then going into the Material List and clicking the “Add Material” button at the bottom of the page, and selecting “Generic.”
From here, you’re going to go over and add your maps into your Vray material. Click the right arrow button to expand the window off to the right, then add your texture to this material by selecting the little box next to “Diffuse,” and finding your color map. This will add the texture image to your material. You’ll probably have to go into the materials section of your tray and adjust the size of the material.
Then, we’re going to add the different maps from the material, like the reflection map, the gloss map, the normal map, and the displacement map all in the same way.
This will create a material that is very realistic within your Vray renderings, all for free!
About Justin Geis
Hi, I'm Justin Geis, and I'm the founder of The SketchUp Essentials. I started using SketchUp as part of my work as a general contractor in 2008. I quickly realized the power of the software and started using it for personal projects. I started The SketchUp Essentials as a place to share easy to follow SketchUp tutorials and tips to help everyone harness the power of 3D Modeling in their lives. When not working with SketchUp, I enjoy playing soccer and spending time with my wife and our two dogs.
