Thanks so much for checking out this tutorial. If you like what I’m doing on the site, please consider supporting me on Patreon. This will help me bring more tutorials and great SketchUp content to you. Remember, even a dollar helps!
In the past, we’ve talked a lot about using styles to adjust the way your models appear in SketchUp. In this SketchUp tutorial, I’m going to teach you how to create a custom style by editing your edge settings in SketchUp.
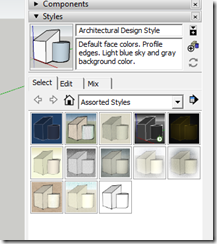
To find the styles editor in SketchUp, look in the tray.
To start off, click this little button with the plus sign on it. This will create a new style. Name it whatever you’d like. This will be your style.
Now to start off, this will just create a new thumbnail in the “In model” drop-down.
First note – if you want to save your new style, right click on it and click save as, then pick a location. Then you can load this style in future versions of SketchUp.
In addition, if you save your styles in a folder, you can use the “Open or create a collection” option to open all the styles in a given folder.
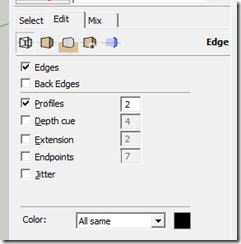
Now let’s talk about customizing our style. To customize your style, you’re going to look under the “edit” tab. This is where all your different style options are located. If you look at this section, there are 5 boxes right at the bottom of the edit tab – this is where you’re going to change the style options in your model.
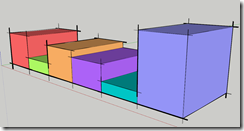
The one that looks like a wire frame box is where you edit your edges. In this box, you can change everything from showing edges at all, to changing the thickness of your lines, to adding extensions and endpoints to your lines.
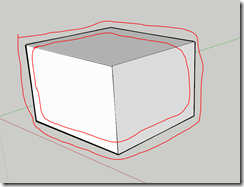
Profiles adjusts the thickness of the line around your object.
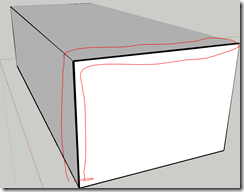
Depth cue adjusts the thickness of the lines closer to the camera.
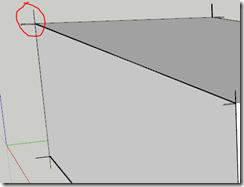
Extension adds an extension to the end of all line end points.
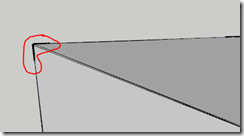
Endpoints thickens the ends of lines.
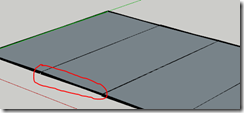
Jitter will render your lines at a slight offset, giving your model a slight hand-sketched look.
Remember that when you start getting a ton of different lines in your model, having most of these turned on will slow your model down.
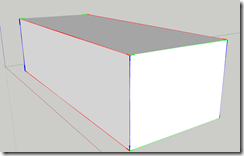
The drop down at the bottom allows you to adjust how lines are colored. Turn on “by axis to see which lines in your model are drawn along axes.” If the lines aren’t colored, they aren’t drawn straight on an axis.
You can adjust your line weights and options to give your model a more hand sketched, hand drafted type look. In the next tutorial, we’ll talk about adjusting face settings to further customize your model styles.
Thanks for checking out this tutorial. If you enjoyed it, please consider supporting me on patreon.
If you’re looking for more SketchUp instruction, make sure you check out my SketchUp courses.
About Justin Geis
Hi, I'm Justin Geis, and I'm the founder of The SketchUp Essentials. I started using SketchUp as part of my work as a general contractor in 2008. I quickly realized the power of the software and started using it for personal projects. I started The SketchUp Essentials as a place to share easy to follow SketchUp tutorials and tips to help everyone harness the power of 3D Modeling in their lives. When not working with SketchUp, I enjoy playing soccer and spending time with my wife and our two dogs.

